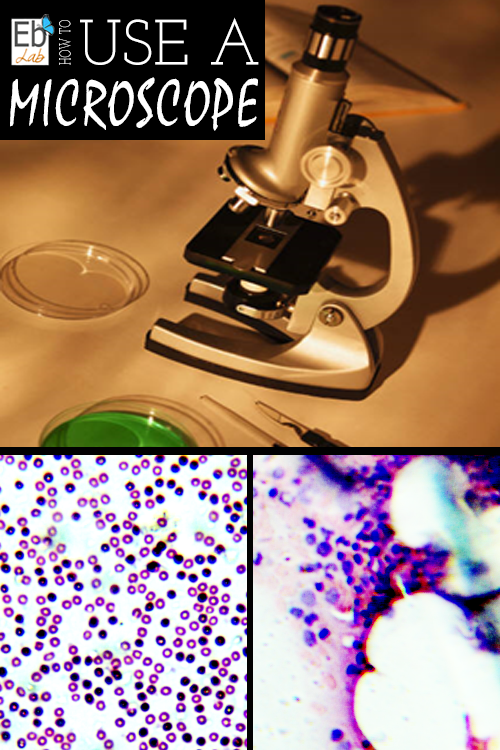
 Two weeks ago I shared about how to choose a microscope for homeschool use.
Today, I want to give you few ideas for using your new microscope for homeschool science.
Mounting Samples on a Slide
There are many different ways that a sample can be mounted on a slide. The type of mounting you use will depend upon the equipment you have and the way the slide will be used. The typical homeschooler will only use the dry mount or the wet mount for slides.
Samples can also be permanently mounted, in which the sample is fixed to prevent decay and permanently attached to the slide, or strew mounted, in which the sample is suspending in distilled water, placed on the slide, and the water is allowed to evaporate. These two types of mounting are typically used to the commercial or lab setting and they aren’t very practical for the home setting.
So, when making your own slides, you need to decide whether or not to dry or wet mount your slides.
Dry Mount Slides
A dry mount slide is when the sample is simply placed on a slide. You can use a cover slip or another slide to flatten the sample or hold it in place if necessary.
- Advantages: This type of slide preparation is quick and easy to make.
- Disadvantages: Living samples will dry out and die quickly with this type of slide preparation.
- You should use this type of slide when viewing samples such as pollen, feather, or hair.
How to Make a Dry Mount Slide
When making your own dry mount slides, you will want to follow these directions:
- Collect your sample and place it in the middle of a clean, dry slide.
- Place the slide on the stage of the microscope. If necessary, cover the sample with a cover slip or another slide that you hold in place with the clips on the stage.
- Your slide is ready to be viewed.
Once you view your slide, wipe it off thoroughly with 70% ethanol and a clean lens cloth and reuse for another sample.
Wet Mount Slides
A wet mount slide is when the sample is placed on the slide with a drop of water and covered with a cover slip, which holds it in place through surface tension.
- Advantages: This type of slide preparation allows you to view microscopic living things without them drying out.
- Disadvantages: It takes a bit more time to prepare these slides.
- You should use this type of slide when viewing living samples such as saliva, blood, and other cells.
How to Make a Wet Mount Slide
When making your own wet mount slides, you will want to follow these directions:
- Collect a thin slice of your sample and place it on a clean, dry slide. Make sure your sample is very thin or else your cover slip will wobble and you won’t get a very good view of your sample.
- Place one drop of water over your sample. Be sure not to use too much water or else your cover slip will float away and you won’t be able to see your sample.
- Place the cover slip at a 45 degree angle with one edge touching the water and let go. The cover slip will fall over the sample and be held in place by surface tension. This method should prevent any air bubbles under the cover slip, as these will affect your ability to view the sample.
- Your slide is ready to be viewed.
Once you view your slide, you can separate the cover slip and slide, clean both thoroughly with 70% ethanol, dry with a lens cloth, and reuse for another sample.
Viewing the Slides
You can purchase pre-made slides from just about every science supply store or you can make your own to view. Here are a few ideas for samples:
- Hair
- Blood
- Pollen
- Paper with printed picture
- Plant stem
- Flower Petal
- Soil
- Creek water
- Feathers
You want your students to view the slide and describe what they are seeing. Then, take the time to explain to them what they are seeing and point out any of the interesting features you want them to notices. Here are two FREE microscope worksheets for you to use when viewing your slides.
When you move the slide, always hold it on the edges while wearing gloves. Never put your fingers in the middle of the slide, unless you want to view your fingerprint under the microscope. Always put your slides away properly so that the will not collect dust or get scratched.
I trust that this article has given you a few ideas on how to use your microscope for homeschool science. As always, if you have any questions, please feel free to leave them in the comments!
 Sign up below to receive weekly tips & tools for homeschool science and we'll send you a FREE copy of
[…] Using A Microscope For Homeschool Science from Elemental Blogging […]