 A simple machine is a tool that you can use to help you to do work. In other words, simple machines make the task of lifting or moving an object easier.
Types of Simple Machines
There are seven main types of simple machines.
1. The Lever
The lever is a rigid bar that is free to move around at a fixed point. Levers are frequently used to lift things, i.e. using a flat piece of metal to pry open a paint can, using a wheelbarrow to move dirt, or using a shovel to life a large rock.
2. The Wheel and Axle
The wheel and axle has two disks or cylinders, each with a different radius. The wheel and axle simple machine is often used to turn or rotate things, i.e. using a screwdriver to turn a screw or using the steering wheel of a vehicle.
3. Gears
Gears are toothed wheels that interlock in pairs; each one helps to drive the next. Gears are often used to consistently drive an object, like a watch or clock.
4. The Inclined Plane
An inclined plane is a slanted surface that helps move objects up an incline. The inclined planes are typically ramps that can be used to move a heavy object from a lower level to a higher level.
5. The Wedge
The wedge is a v-shaped object whose sides are two inclined planes. Wedges, like knives, axes, and zippers, make it easier to separate two objects.
6. The Screw
The screw is an inclined plane wrapped around a cylinder; this plane is also called the thread of the screw. These simple machines, including screws, nuts, and bolts, make it easier to drive an object into another object.
7. The Pulley
A pulley has a rope that fits in the groove of a wheel. Pulleys make it easier to pull a heavy load directly upward.
In today’s experiment, you are going to choose one of these types of simple machines to build.
Building Simple Machines at Home
Here are three activities you can use with your students to see firsthand the benefit of using simple machines.
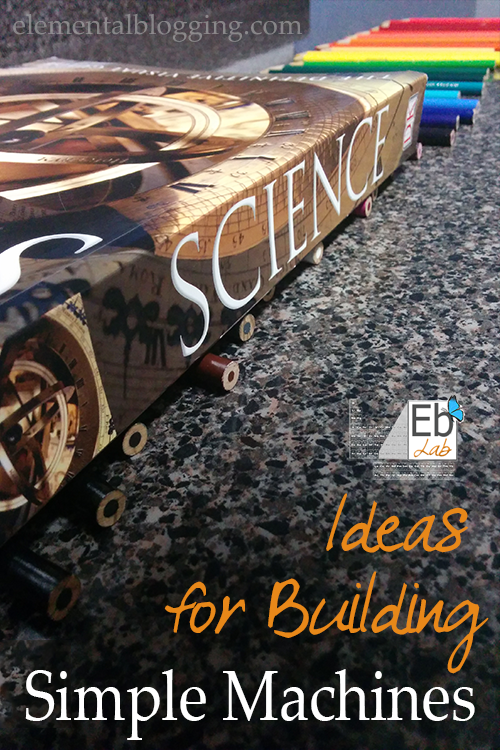
Build # 1 – Wheel & Axle
You will need the following:
- a thick, heavy book
- round pencils
- smooth surface
Have the students try to push the book over the surface and observe how much effort it takes. Then have them line up pencils along the surface as a path for the book. Then, have them try to push the book over the surface once more and note the difference.
Extension – Have the students repeat the process on a rough surface.
Build #2 – The Screw
You will need the following:
- block of wood
- nail
- screw
Have the students try to push the nail as far as they can into the piece of wood, observing how much effort it takes. Then have the students try to twist the push a nail into wood, twist a screw as far as they can into the piece of wood, noting the difference in effort. Have the students measure amount of the nail and screw that is still sticking of the wood and compare the differences.
Extension – Have the students try different sizes of nails and screws to see if their results remain the same.
Build #3 – The Ramp
You will need the following:
- brick or concrete block
- wooden board
- stairs
Have the students pick up the brick or block and carry it up 6 steps, noting how much effort it takes. Then, have them set up the wooden board as a ramp up the 6 steps they just climbed. Now, have them push the brick or block up the ramp, observing the difference in effort.
Extension – Add some wheels under the brick to see if that makes a difference in the effort needed to move the brick up the ramp.
Simple Machine Resources
Here are a few more resources you can use as you learn about simple machines:
- FREE Simple Machines Printables
- The Lego Education Simple Machines pack in action at Homegrown Learners
- Book – Explore Simple Machines with 25 Great Projects
- Video – Bill Nye shares about Simple Machines
Have fun as you explore simple machines with your students!
 Sign up below to receive weekly tips & tools for homeschool science and we'll send you a FREE copy of
Love it- easy and effective ideas. Thanks! 🙂
Your welcome, Sarah!