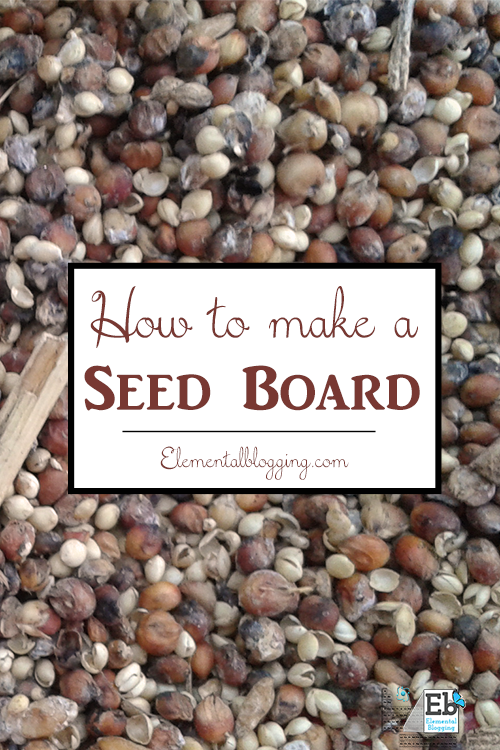
 I love it when fall hits in earnest, the weather turns cooler and the colors turn warmer. Fall is also a great time of year to collect seeds for next year.
In today’s Science Corner, I want to share with you how to make a seed board to display what you have collected.
How to make a seed board
Step 1: Collect the Seeds
The first step in making a seed board is to collect the seeds.
Where to get seeds:
- Buy at the store — You can purchase packets of a variety of seeds;
- Raid the kitchen — Many of the fruits and vegetables we eat have seeds you can collect;
- Check your garden — The home garden can be a great source of mature seeds;
- Head outdoors — A nature study walk will provide the opportunity to acquire a variety of seeds.
One fun way to collect seeds outdoors is to put on a pair of white tube socks over your students’ shoes. Then, have them run through a field of wildflowers. The sock will pick up a bunch of seeds which you can pick off and mount.
Step 2: Dry the Seeds
Typically when you collect seeds from the outdoors in the fall, they are already dried out so you can mount them as is.
However, if you collect your seeds from the garden or kitchen you will need to dry them. This can take anywhere from 1 or 2 days up to several weeks. This video gives clear step by step instructions on how to dry seeds for later planting.
Step 3: Identify & Classify the Seeds
If you purchase the seeds or collect them from the kitchen or garden, then you will already know what plant from which they came.
On the other hand, if you obtain the seeds from the outdoors, you may or may not know the names of the plants from which they originated. The Seeds and Seedpods website is an amazing resource for identifying seeds. You can also use a field guide to get more information on the seeds you have collected.
Once you know the names of the plants, you can classify the seeds. You can separate them by fruits, flowers, and vegetables. You can separate them by color or size. Or, you can separate them by scientific class. The choice is up to you and the abilities of your students.
Step 4: Display the Seeds
Now that you have collected your seeds, dried them, and identified them, you are ready to display the them on a seed board.
You can:
- Mount them on poster board in a grid — You can create a grid on poster board, use contact paper to mount the seeds in each block, and label them with the plant identification information;
- Create a mini-book of seeds — You can place the seeds in a baggie, attach the baggie to a sheet, and add information about the plant, such as a picture and identification data, to the page;
- Make a seed box — You can build a box that is divided into several blocks, place dried seeds into each block, and label the blocks with the plant identification information;
- Design a seed photo collage — You can take pictures of your seeds, cut them out, label them with the plant identification information, and attach the photos to a sheet in a free-form style.
Whichever way you choose to present your seeds, I trust that this project will help your students to appreciate the beauty of the seed this fall!
If you have any questions about making a seed board or want to share your experiences with seed collecting, leave a comment below!
 Sign up below to receive weekly tips & tools for homeschool science and we'll send you a FREE copy of